
How to learn the bridge & wheel: full spinal mobility from glute bridge to wheel pose
Four stages of mobility work from the Strive Up skill tree: from the simple glute bridge via the head-on-floor bridge to the full bridge and finally the wheel.
Contents
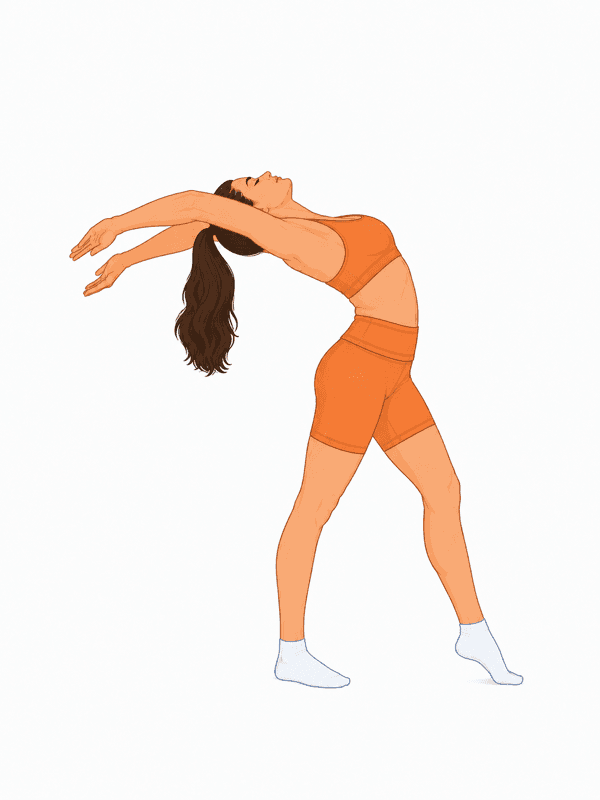
The bridge is much more than a yoga pose. It is both a test and a training tool for three things: shoulder extension, spinal mobility and hip extension.
If you can do a clean bridge you have mobility reserves for the handstand, muscle up and every other overhead skill. The wheel is the finished article: arms straight, legs straight, maximum range of motion.
Why bridge & wheel are so valuable
Modern life compresses us: lots of sitting, rounded shoulders, shortened hip flexors. The bridge is the direct counter-movement. Muscles worked: glutes, hamstrings, lower back, front delts, triceps.
A bonus effect: bridge training noticeably improves your shoulder mobility – the prerequisite for the handstand and muscle up.
Prerequisites
- Pain-free overhead shoulder mobility – otherwise start with the dislocates routine.
- A warm-up plus mobility routine before every bridge session. Never start cold.
- No acute back pain or disc problems.
Your path to the wheel
From the glute bridge to the wheel
Four stages from the Strive Up skill tree: from a simple hip lift via the head-on-floor bridge to the full bridge and finally the wheel.
The stages explained
1. Glute bridge (1:00)
Lie on your back with knees bent and lift your hips until knees, hips and shoulders form a line. A static hold – not a warm-up cliché but the foundation for hip extension and glute activation.
2. Bridge (head on the floor) – 0:30
Place your hands behind your shoulders, push your hips up and keep your head on the floor. The first real shoulder extension stage. If you can't hold this, you simply don't have enough shoulder mobility for the full version.
3. Full bridge – 0:30
Push all the way up: arms straight, head hanging between your arms. Hips actively high, chest opening. Hold for 30 seconds.
4. Wheel
Going backwards into the bridge from standing. Practise safely against a wall or with a partner. Full elegance and range – the goal.
Common mistakes
- Compensating in the lower back: most people bend primarily through the lumbar spine. The goal is an even curve across the thoracic spine plus shoulder extension.
- Tight shoulders: if you can't straighten your arms at the top, thoracic mobility is the limit. Prioritise chest openers and dislocates.
- Knees collapsing outwards: knees and feet should stay parallel. Keep the weight actively in your heels.
- Holding your breath: keep breathing calmly during the hold. The bridge is mobility work, not a max-effort lift.
Training plan
Day A (mobility): 3 × 30s at your current stage + 2 × 60s hip flexor stretch + 10 dislocates
Day B (strength + hold): 4 × 20s bridge with active pressing ("how far can I push up") + glute bridges 3 × 15
Frequency: 3–4 × per week; the bridge tolerates frequent stimulation.
Track it with Strive Up
In Strive Up the bridge line is a mobility path with clearly defined hold times. If you can hold the glute bridge, head-on-floor bridge, full bridge and wheel for 30 seconds each, you have spinal mobility that 95 % of adults have long since lost.
Train smarter with Strive Up
Track your training, use the EMOM timer, follow your PRs and discover your personal skill roadmap – for free.


Related articles
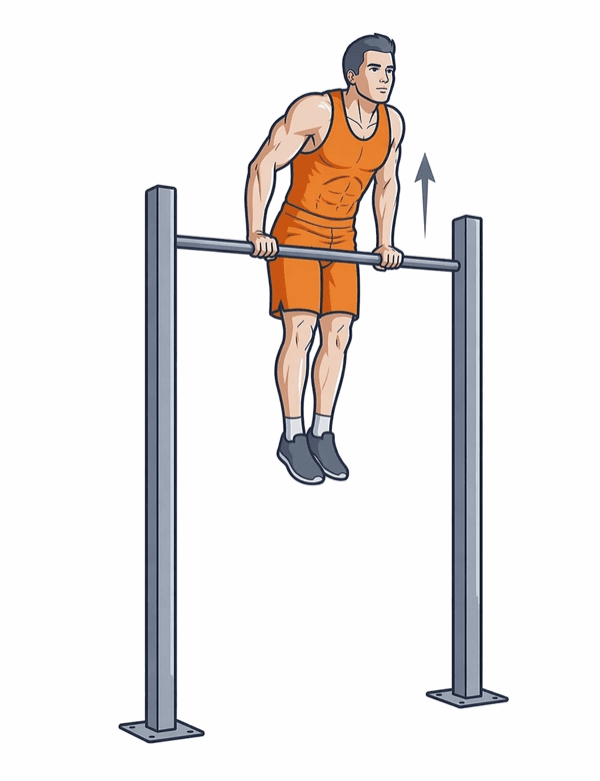
How to learn the muscle up: the complete progression guide
From the dead hang to your first clean muscle up: prerequisites, every lead-up stage, common mistakes and a clear plan that actually gets you to the king of bar skills.
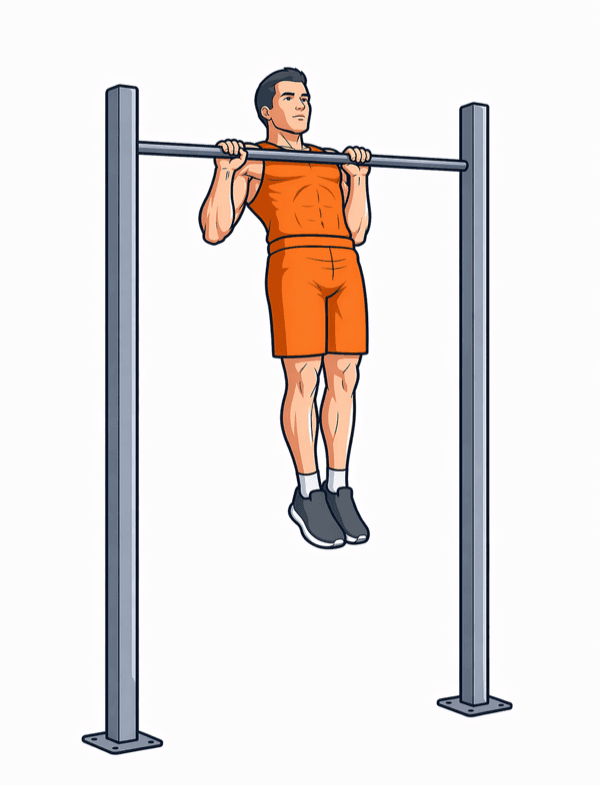
How to do pull-ups properly: technique, mistakes & progression
From the dead hang via scapula and band pull-ups to a clean full-range rep: technique, common mistakes and the complete progression ladder from the Strive Up skill tree.
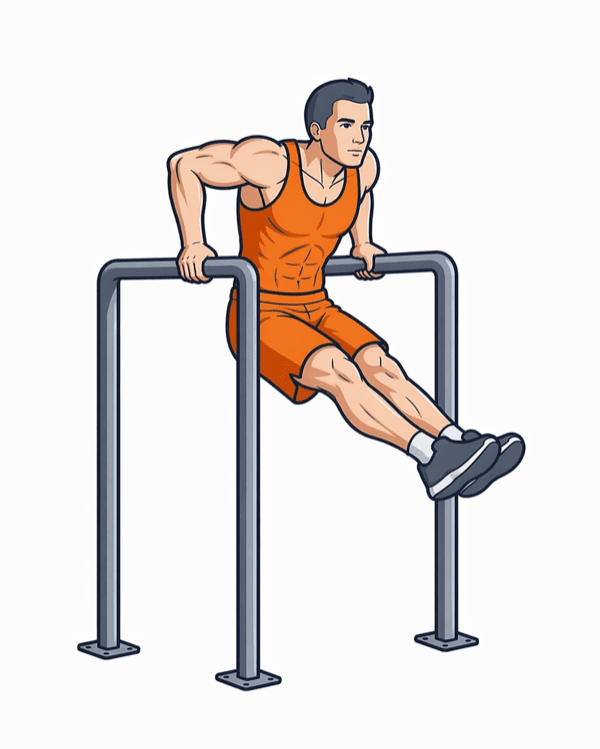
How to do dips properly: from the bench dip to muscle-up ready
The complete dip progression: bench, parallel bars, straight bar, russian. Technique, common mistakes and a training plan – straight from the Strive Up skill tree.