
How to learn the back lever: shoulder extension meets lat strength
The back lever is the mirror image of the front lever – facing the floor, but every bit as demanding. Five progression stages from the Strive Up skill tree.
Contents
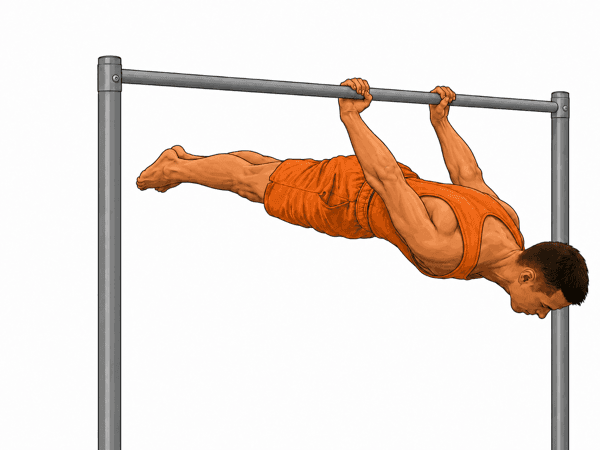
The back lever often looks easier than the front lever – it rarely is. It demands not only enormous pulling strength but also shoulder extension mobility. If you can't bring your shoulders far enough behind you, you'll never reach a clean position.
What the back lever demands
Hanging from the bar (or rings), you rotate around the bar until you hang horizontally with your back facing up. Muscles worked: lats, rear delts, lower back, biceps, core. Shoulder mobility is often a bigger hurdle here than raw strength.
Prerequisites
- 10+ clean pull-ups.
- A clean skin the cat – the prerequisite for rotating into the lever.
- Shoulder mobility from dislocates – without clean shoulder extension the hold becomes impossible.
Your path to the back lever
Your path to the back lever
Five stages from the Strive Up skill tree — the mirror image of the front lever. From the tuck with knees pulled in to a full horizontal hang facing the floor.
The stages explained
1. Tuck back lever (0:15)
From the german hang, pull your knees to your chest. Back horizontal. This is where your nervous system learns the inverted position.
2. Advanced tuck back lever (0:15)
Knees further from the chest, hips opened to 90°. The lever gets longer and the demand on shoulder extension rises.
3. One-leg back lever (0:10 per side)
One leg extended, the other still tucked. The bridge between advanced tuck and straddle.
4. Straddle back lever (0:10)
Both legs extended and spread wide. The standard stage for most calisthenics athletes – many stop here without chasing the full lever.
5. Full back lever (0:10)
Legs together and extended, body completely horizontal. The final form – often the entry ticket to ring skills such as the iron cross.
Common mistakes
- Biceps pain when starting out: the inverted hang loads the biceps heavily. Build up slowly, never go from zero to max.
- Arched back: extend the hips actively, squeeze the glutes. If the spine sags, it isn't a clean lever.
- Shoulder mobility deficit: if you can't extend your shoulders back and up, you'll never get horizontal. Daily dislocates fix this.
- Wrong grip: start with a pronated grip (knuckles up). Only later work with the harder supinated grip.
Training plan
Day A: current lever stage 5 × max hold + 4 × 5 slow negative levers
Day B: german hang 4 × 30s + dislocates 3 × 15 + biceps curls 3 × 12
Frequency: 2 × per week, with 72 hours between lever sessions.
Track it with Strive Up
In Strive Up you track the back lever and the front lever side by side. Training both at once builds an extremely balanced pulling system – and avoids one-sided shoulder problems.
Train smarter with Strive Up
Track your training, use the EMOM timer, follow your PRs and discover your personal skill roadmap – for free.


Related articles
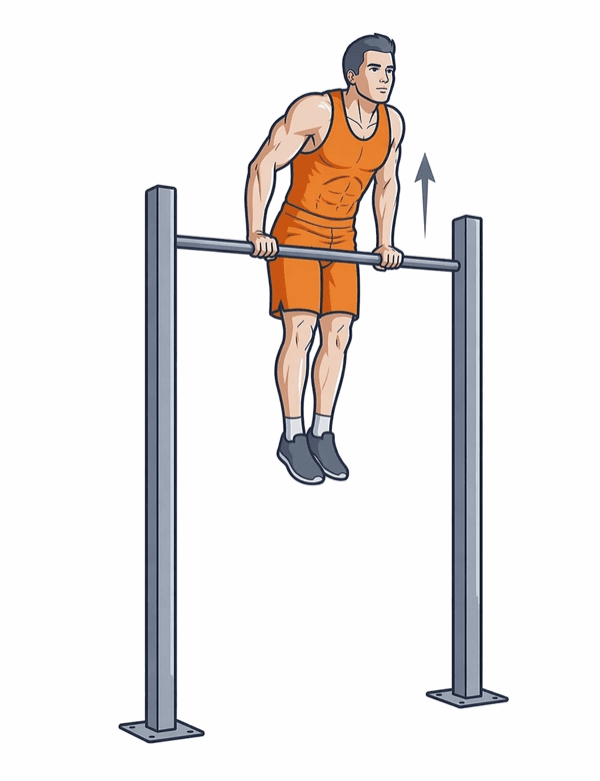
How to learn the muscle up: the complete progression guide
From the dead hang to your first clean muscle up: prerequisites, every lead-up stage, common mistakes and a clear plan that actually gets you to the king of bar skills.
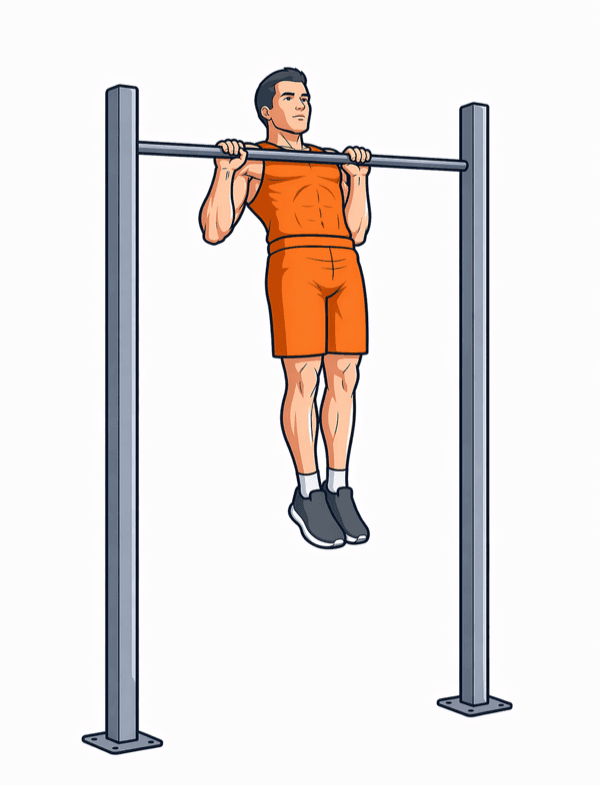
How to do pull-ups properly: technique, mistakes & progression
From the dead hang via scapula and band pull-ups to a clean full-range rep: technique, common mistakes and the complete progression ladder from the Strive Up skill tree.
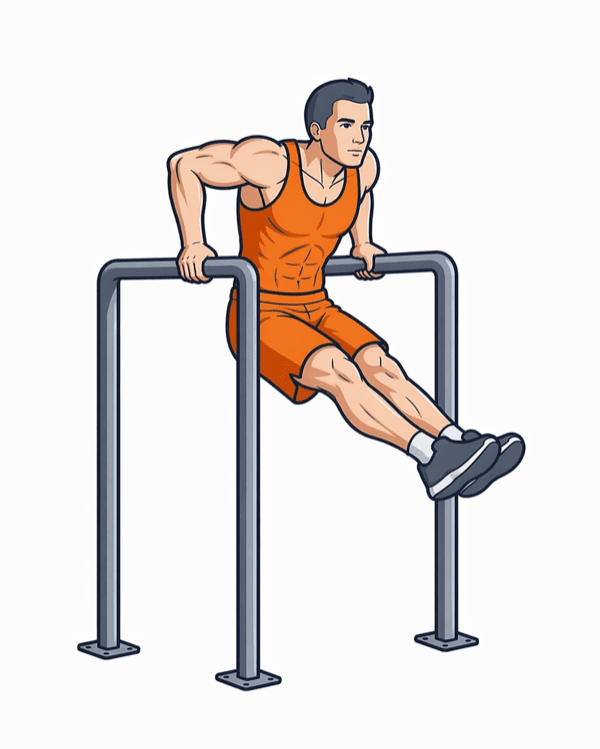
How to do dips properly: from the bench dip to muscle-up ready
The complete dip progression: bench, parallel bars, straight bar, russian. Technique, common mistakes and a training plan – straight from the Strive Up skill tree.