
How to learn the hollow hold: the foundation of every core skill
A simple static position on your back – and at the same time the most important foundation for the front lever, planche, dragon flag and handstand. Target: hold it for one minute.
Contents
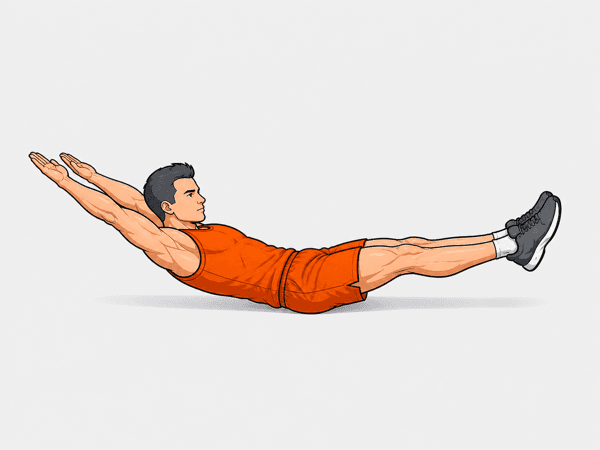
The hollow hold looks harmless: you lie on your back and lift your legs and shoulders slightly. That's it. Until you do it honestly – and realise that one minute can feel like an eternity.
What makes the hollow hold so valuable
The hollow position is the tension pattern behind every calisthenics skill. You need it in the handstand. You need it in the front lever. You need it in the planche. Muscles worked: rectus abdominis, hip flexors, quads, front delts. More than that: the hollow position teaches you how a good calisthenics athlete organises their body under tension.
The correct position
- On your back: press your lower back actively into the floor. No gap between your lumbar spine and the ground.
- Legs: straight and slightly lifted (roughly 15–30 cm off the floor). Toes actively pointed.
- Shoulders: off the floor. Head in a neutral line.
- Arms: extended overhead, parallel to the floor. Thumbs together.
- Tension: the whole body like a tensioned banana (upside down) – navel drawn to the spine.
Your path to the hollow hold
Your path to the hollow hold
The foundation of every core skill in calisthenics. A simple static hold – with high standards.
Scaling it for every level
- Beginner: knees tucked at 90°, arms towards the ceiling. Tuck hollow hold.
- Intermediate: legs extended, arms by your sides or folded across the chest.
- Advanced: full hollow hold with the arms overhead.
Common mistakes
- Lower back lifting: the most common mistake. If a hand fits under your lower back, you don't have a hollow hold.
- Shoulders on the floor: the shoulders have to stay actively lifted. Otherwise you're only training your hip flexors.
- Holding your breath: keep bracing, but keep breathing through your nose. Hold your breath and you'll never last a minute.
- Scaling up too early: hold the beginner variation for 30 seconds first. Then move on.
Training plan
Frequency: daily – the hollow hold tolerates frequent stimulation
Volume: 3–4 × max hold with 60s rest
Goal: a single 60-second hold in the full position.
Track it with Strive Up
The hollow hold is the foundation for the dragon flag, front lever and planche. In Strive Up you track the seconds and see when you're ready to start those skills – usually not before a 45-second hollow hold.
Train smarter with Strive Up
Track your training, use the EMOM timer, follow your PRs and discover your personal skill roadmap – for free.


Related articles
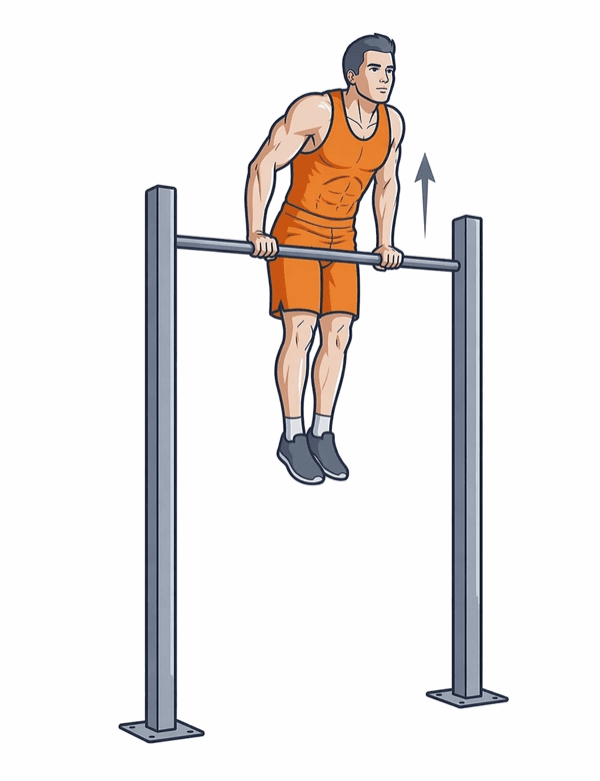
How to learn the muscle up: the complete progression guide
From the dead hang to your first clean muscle up: prerequisites, every lead-up stage, common mistakes and a clear plan that actually gets you to the king of bar skills.
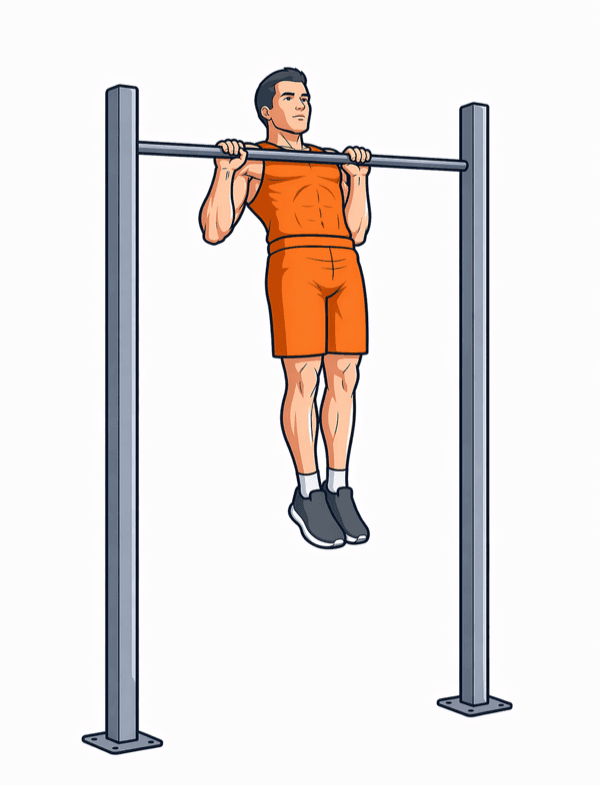
How to do pull-ups properly: technique, mistakes & progression
From the dead hang via scapula and band pull-ups to a clean full-range rep: technique, common mistakes and the complete progression ladder from the Strive Up skill tree.
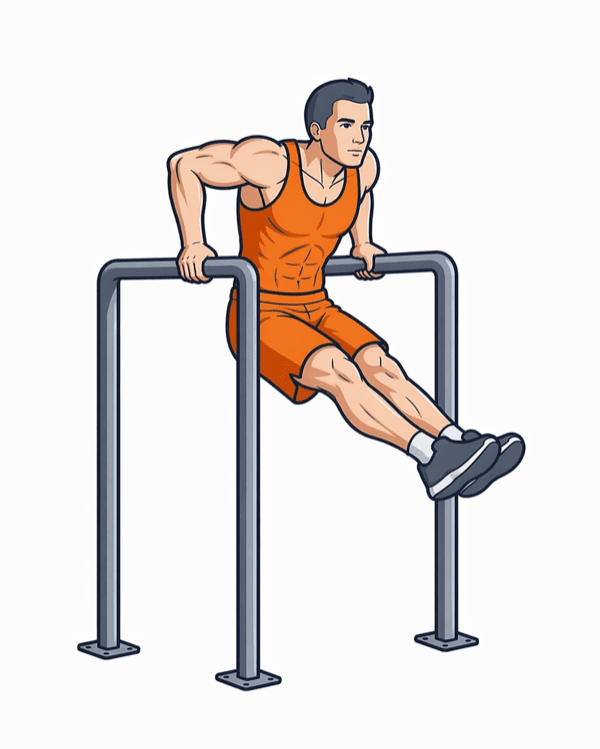
How to do dips properly: from the bench dip to muscle-up ready
The complete dip progression: bench, parallel bars, straight bar, russian. Technique, common mistakes and a training plan – straight from the Strive Up skill tree.